


Screen Printing
Ink: Technology and Application
From the three-way balance of resin, pigment and solvent, through curing chemistry and interfacial adhesion, to defect diagnosis.
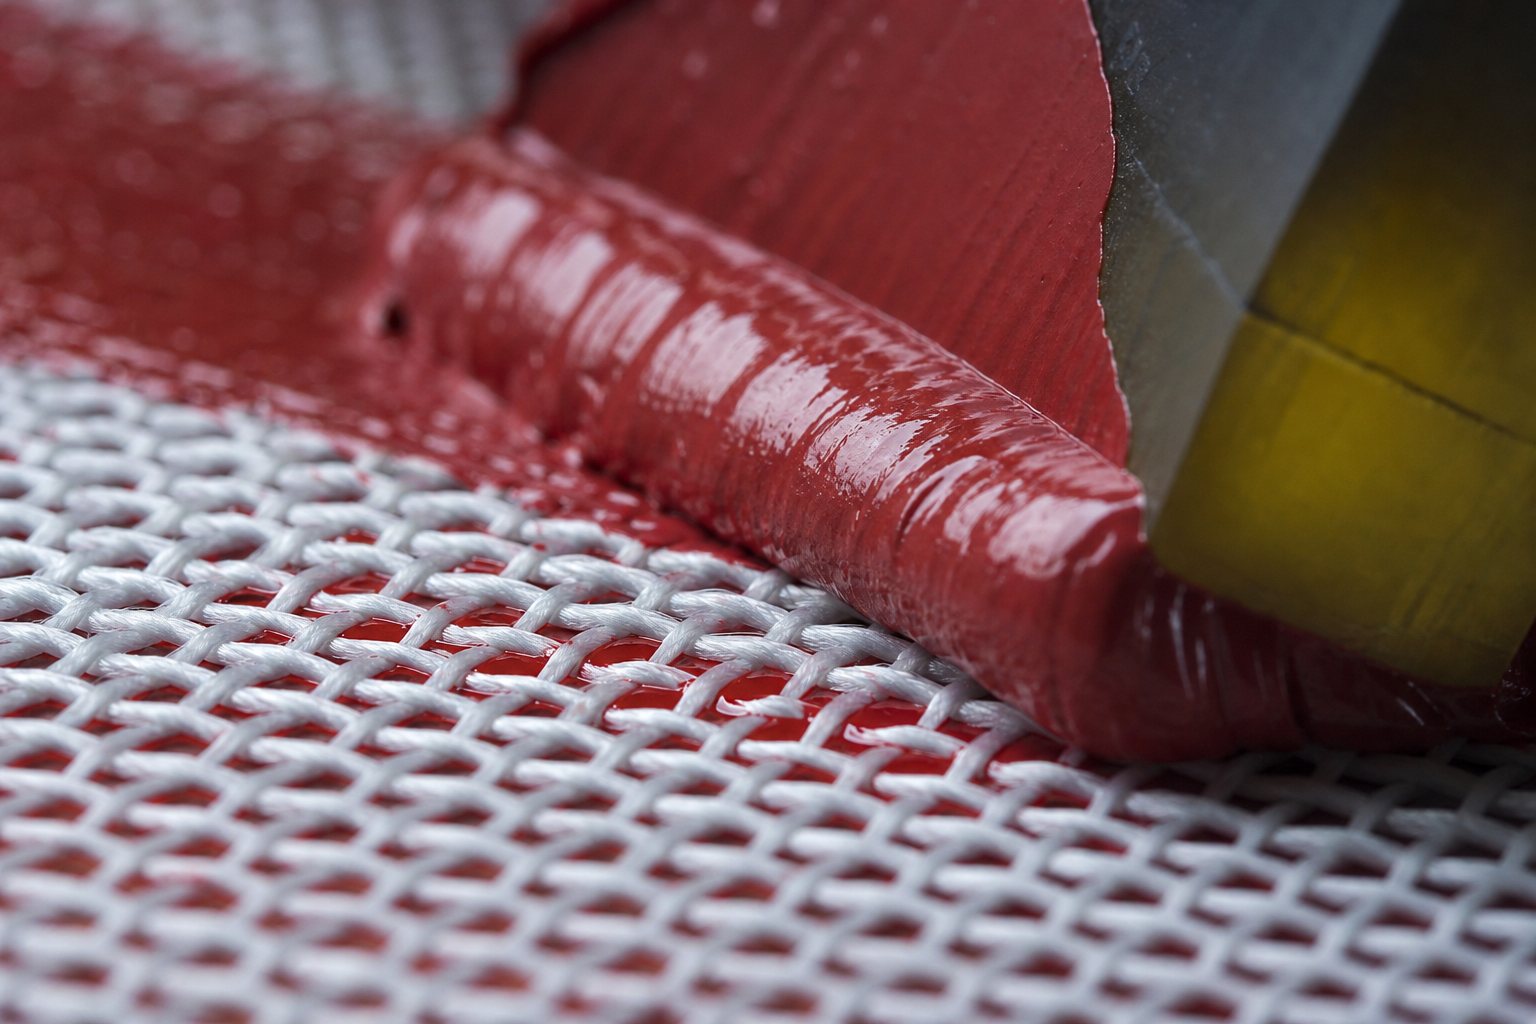
Mesh decides how fine you can print; ink decides what comes out. Of all the consumables in screen printing, ink is the only one that gets redesigned for a specific line, substrate and process — it is not a product you buy, it is a state you tune. This book asks which quantities define that state, and what moves when you change one of them.
1 Four phases: four things happening in one can
A can of screen ink contains four parts: pigment (the solid, setting colour and opacity), binder resin (the film former, setting adhesion and durability), solvent or reactive monomer (the flow phase, setting viscosity and the drying route), and additives (the trace phase, setting interfacial behaviour). These do not add up independently — they compete for the same two scarce resources: flowability and volume.
Add pigment for opacity and viscosity rises, so it passes through the mesh less readily. Add solvent to print more easily and the film gets thinner, opacity drops, and you inherit drying and VOC problems. This is the trade-off a formulator makes every day, and the constraint a process engineer has to understand: every parameter you turn on the floor is a reallocation among those four phases.
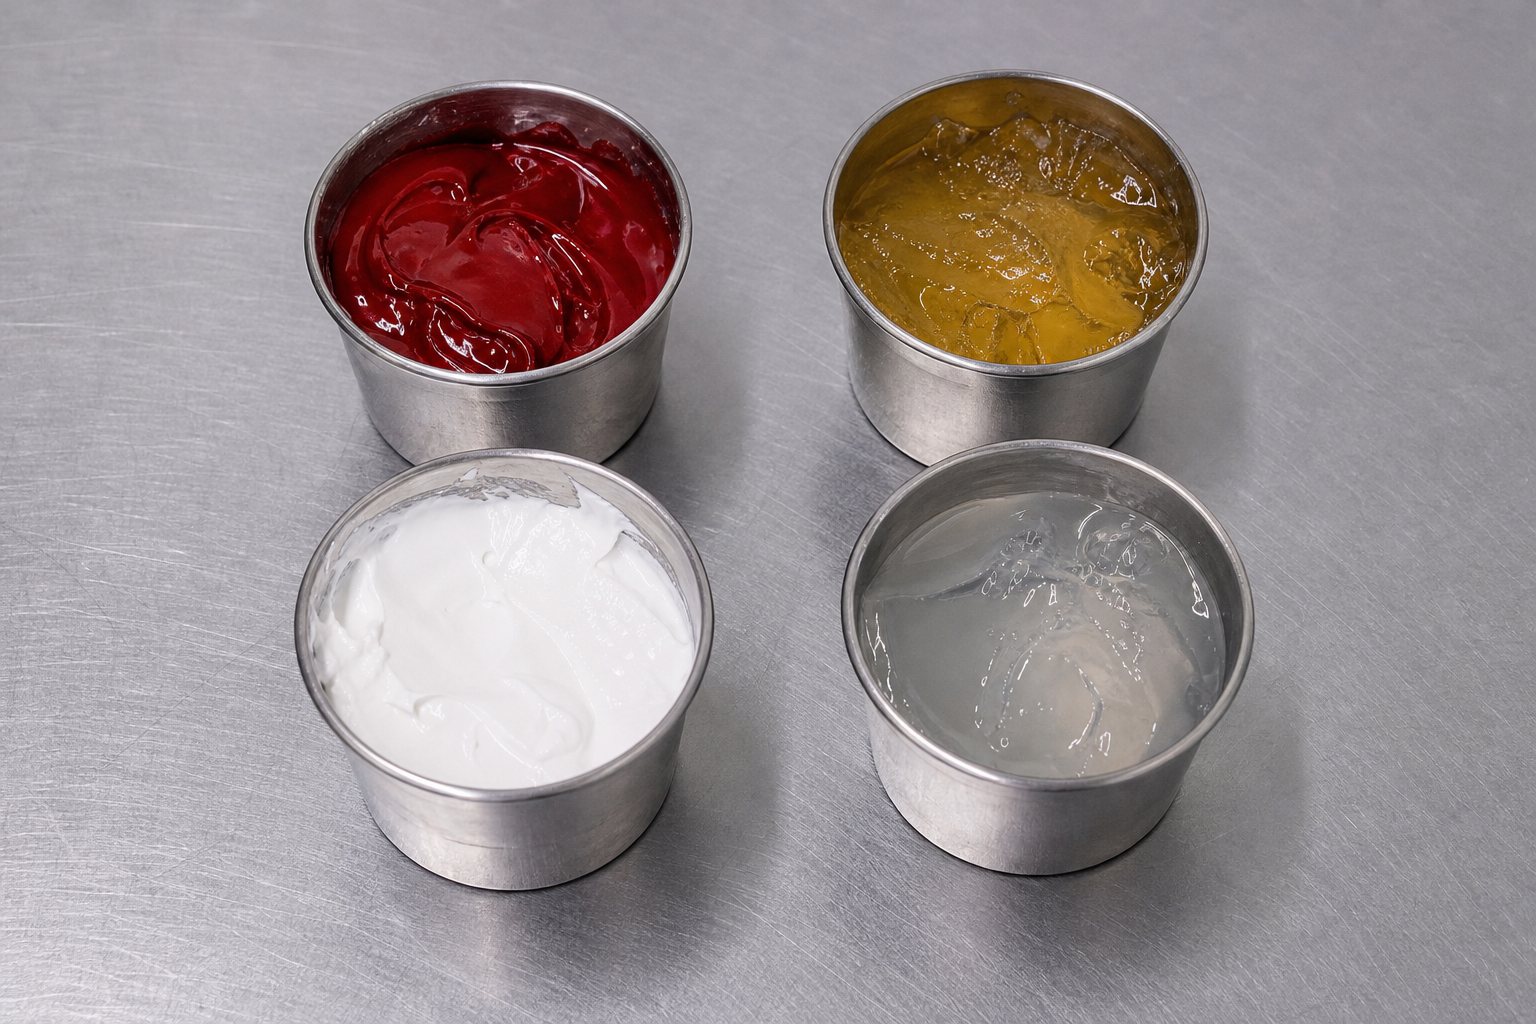
| Component | More of it improves | More of it costs |
|---|---|---|
| Pigment | opacity, colour strength, lightfastness | flow, mesh passage, gloss, cost |
| Resin | adhesion, wash and chemical resistance, film strength | viscosity, drying speed, flexibility (brittle in excess) |
| Solvent / monomer | flow, mesh passage, levelling | film thickness, opacity, compliance, drying energy |
| Additives | defoaming, levelling, adhesion, thixotropy | in excess: craters and adhesion loss |
Read the table this way: every adjustment improves one column and costs the other. If a change claims to improve everything, the dose is still inside tolerance and has not yet reached the opposite boundary.
2 Five chemistries and how each one sets
Screen printing spans T-shirts to solar cells because five chemistries solve five different problems. The difference is not “how fast it dries” but the physical mechanism by which the film forms.
2.1 Solvent-based: evaporation
Resin dissolved in organic solvent; after printing the solvent leaves and the polymer chains entangle into a film. Drying is physical and reversible, so poor solvent resistance is inherent. Where resistance is required, reactive resins plus a crosslinker (two-pack) convert film formation from physical to chemical. Most industrial marking, glass and metal work still uses this family, because it wets difficult substrates and carries a high pigment load.
2.2 Water-based: coalescence
Resin sits in water as an emulsion or dispersion. Water leaves, latex particles pack, deform and coalesce. Coalescence needs a minimum film forming temperature (MFFT); below it the film whitens and chalks. VOC is low, but drying energy is high, humidity sensitivity is real, and wetting hydrophobic substrates is difficult without co-solvents and wetting agents.
2.3 UV: photo-initiated crosslinking
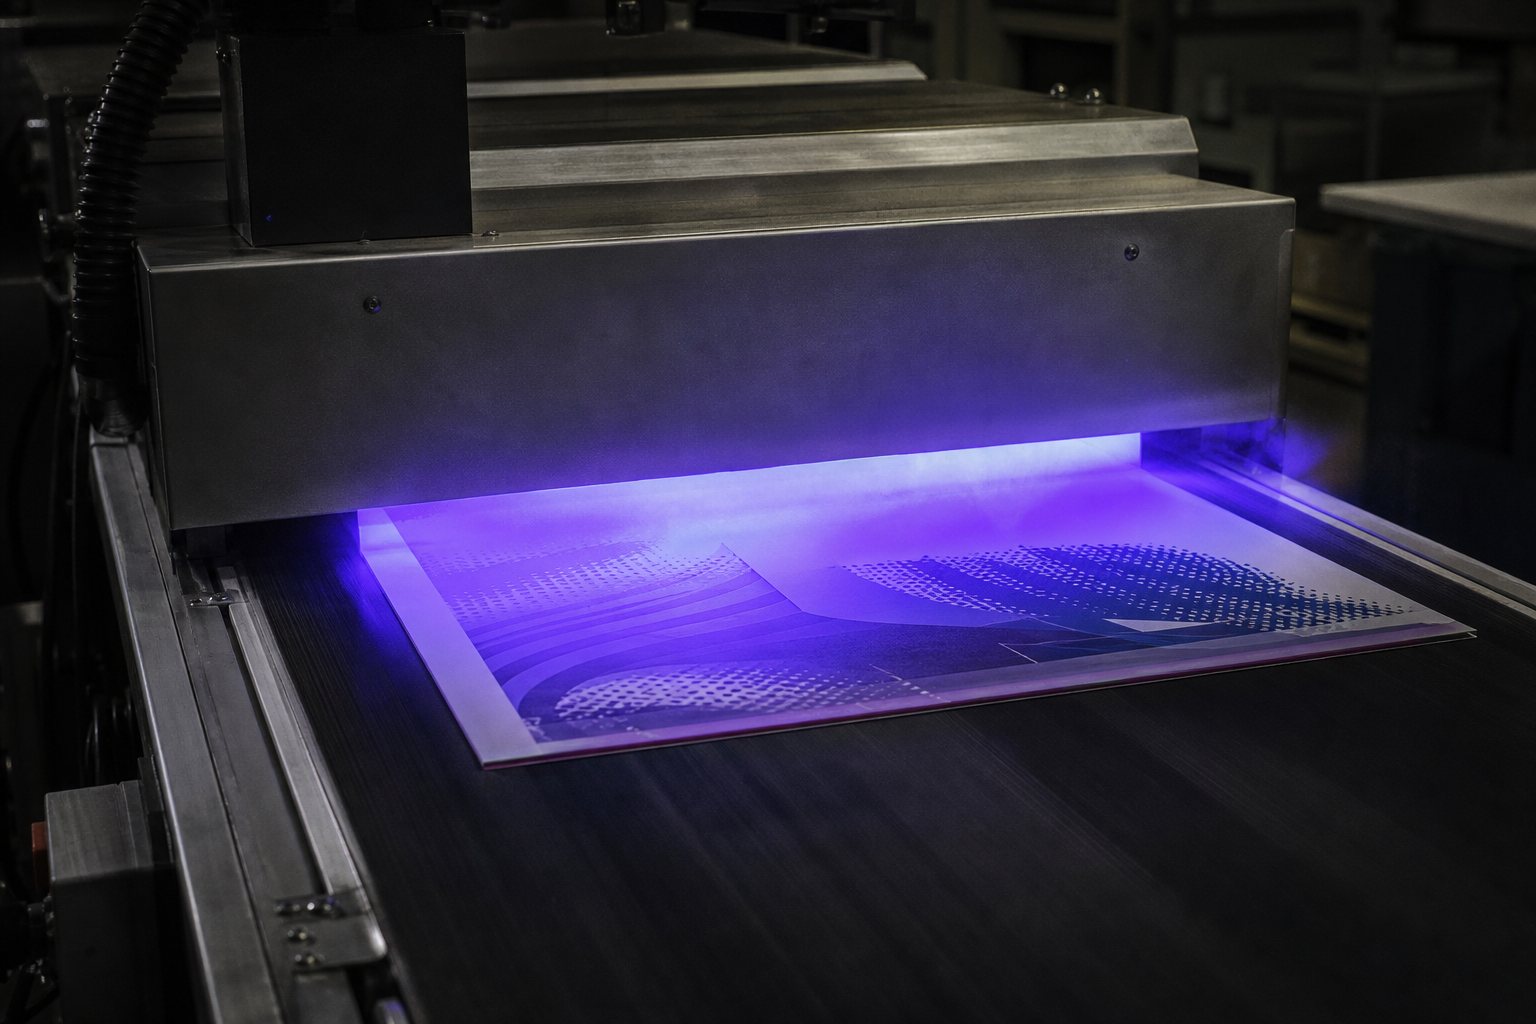
Essentially solvent-free: acrylate monomers and oligomers with photoinitiators. UV is absorbed, radicals form, double bonds crosslink in seconds. Three quantities govern it — irradiance (mW/cm²), energy density (mJ/cm²), and oxygen inhibition. A surface starved of intensity stays tacky because oxygen quenches the radicals, so either raise intensity to punch through or inert the lamp with nitrogen.
2.4 Plastisol: fusion
PVC particles dispersed in plasticiser: a paste at room temperature, no solvent, nothing to evaporate. After printing, 150–170 °C for a short dwell lets the particles absorb plasticiser, fuse, and form a continuous film on cooling. Deposit is heavy, opacity high, cost low — the workhorse of textile printing. It resists dry cleaning poorly, contains chlorine, and carries regulatory pressure; phthalate-free and PVC-free alternatives are advancing.
2.5 Silicone: addition cure
Two packs, platinum-catalysed hydrosilylation building a three-dimensional Si–O network. Cure depends on neither evaporation nor oxygen, giving outstanding elasticity, temperature and weather resistance, and a hand close to bare fabric. The difficulty is surface energy: the catalyst is poisoned by sulphur, tin and amine contamination, and one poorly cleaned screen can stop an entire batch from curing.
| System | Mechanism | Typical condition | Flex / wash | Usable count |
|---|---|---|---|---|
| Solvent | evaporation (optional crosslink) | 60–120 °C / 30–90 s | medium / medium | 120–305 |
| Water-based | evaporation + coalescence | 120–160 °C / 60–120 s | medium-high / medium | 100–230 |
| UV | radical crosslinking | 300–800 mJ/cm² | medium / medium-high | 150–355 |
| Plastisol | thermal fusion | 150–170 °C / 60–120 s | high / medium (no dry clean) | 60–140 |
| Silicone | platinum addition | 120–150 °C / 60–180 s | very high / high | 80–200 |
3 Pigment and dispersion: particle size sets three things at once
Particle size governs opacity, colour strength and the risk of screen clogging — and the optimum for each does not coincide.
Opacity comes from scattering. Titanium dioxide scatters most efficiently at 0.2–0.3 μm, roughly half the wavelength of visible light; below that it turns transparent, above it you pay more for less hiding. Organic pigments (red, blue, yellow) work by absorption, typically 0.05–0.2 μm: too coarse and the hue dulls and transparency suffers, too fine and lightfastness drops.
That number explains why one ink runs cleanly at 200 count and clogs repeatedly at 305: the ink did not get worse, the aperture shrank toward the agglomerate size. Fineness of grind matters precisely because it measures that ceiling.
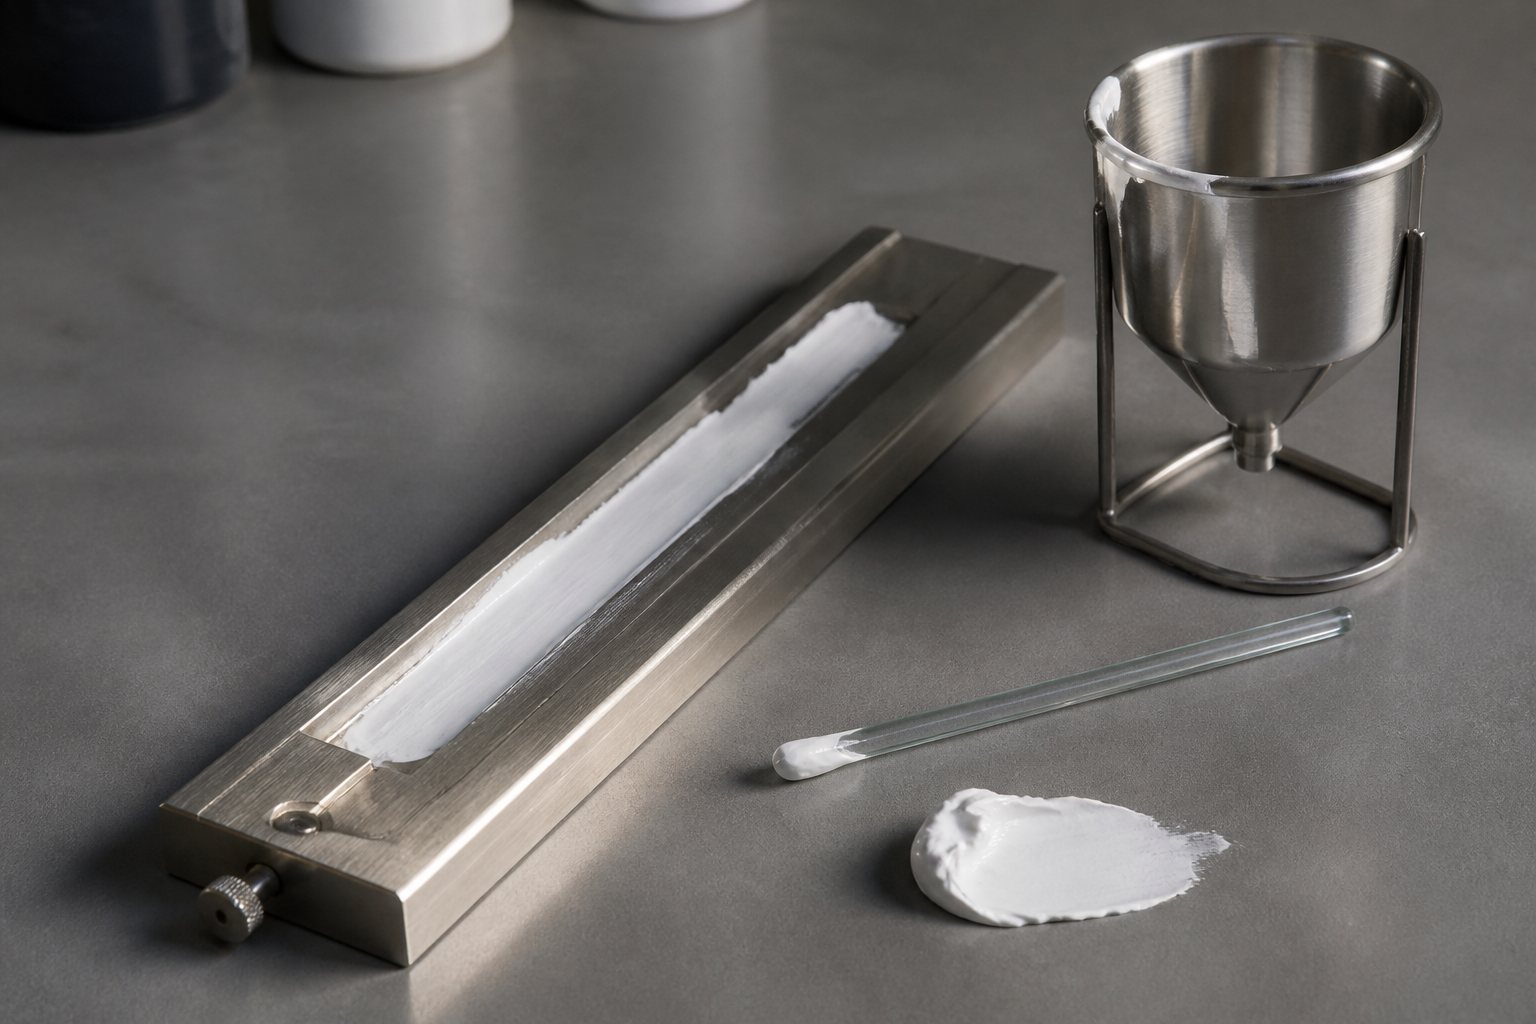
Dispersion stability matters just as much. Pigment wants to flocculate again; dispersants hold particles apart by steric hindrance or charge repulsion. Poor dispersion shows up as fluctuating colour strength, drift from the start of a batch to the end, and hard sediment on standing. The test is simple: draw down a drop on glass as a thin film and look through it in transmitted light. Visible streaks mean dispersion, not press settings.
4 Printability: viscosity is a curve, not a number
When the shop says “this ink is too thick”, it means viscosity at one particular shear condition. Screen ink changes viscosity dramatically with shear rate, so a single figure means nothing unless the test condition is stated.
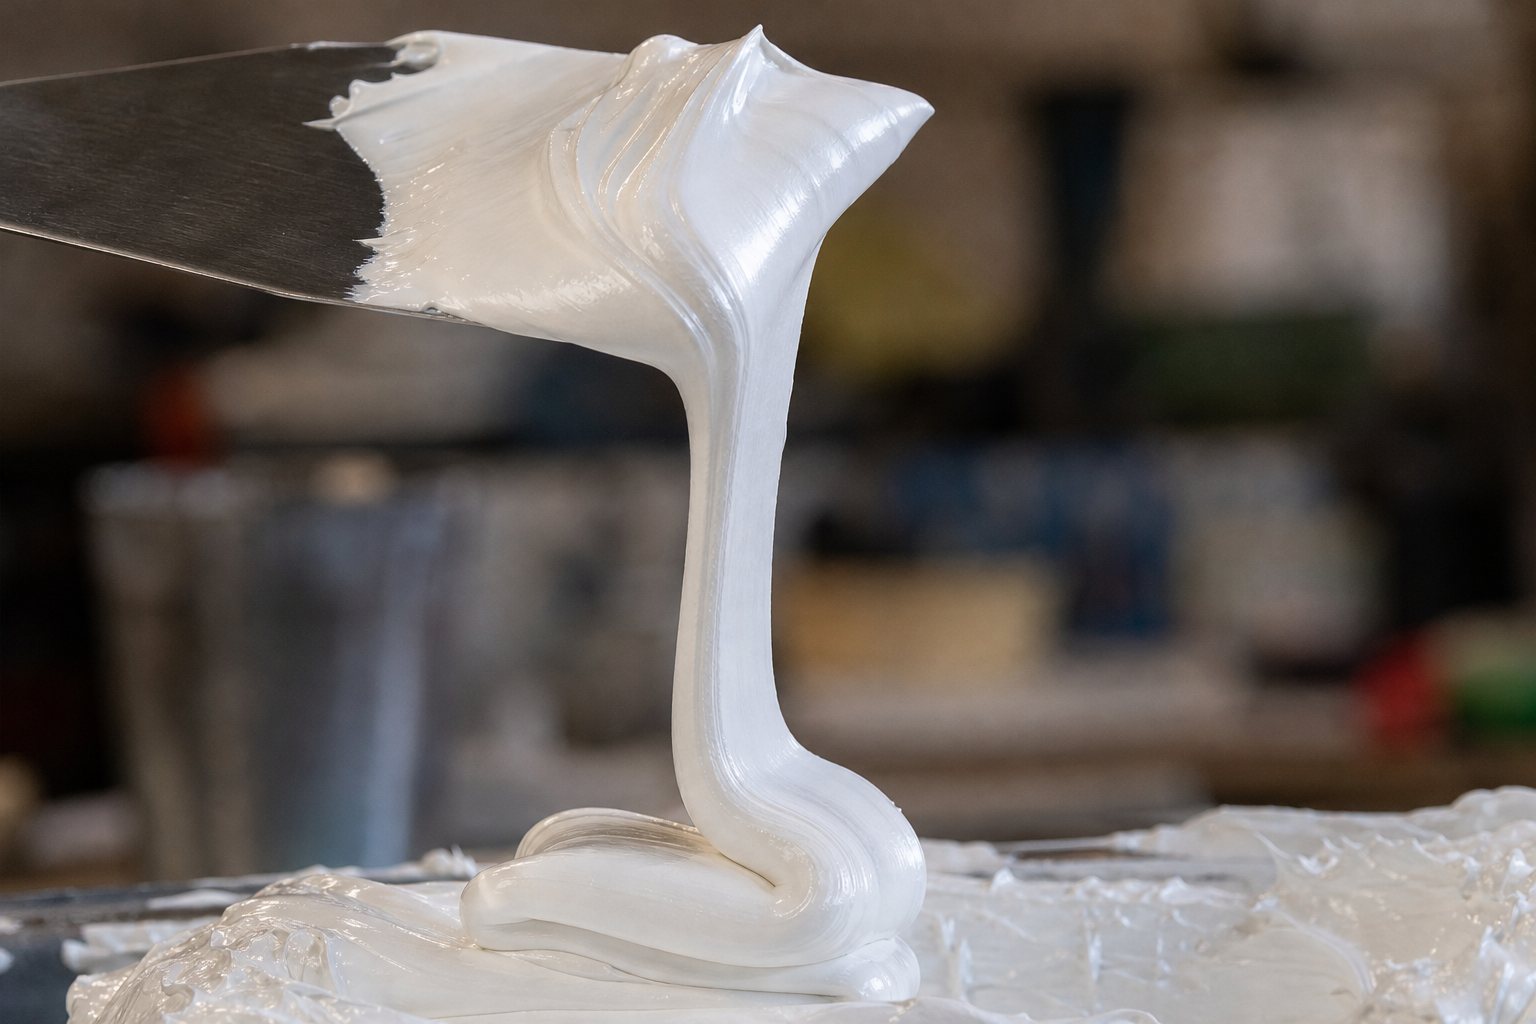
During the stroke, shear rate between the squeegee edge and the aperture sits somewhere in the 10²–10³ s⁻¹ range; at rest it is effectively zero. Screen ink is deliberately built to be thick at rest and thin under shear, satisfying two contradictory needs at once: thick at rest so it neither bleeds through the mesh nor spreads on the substrate; thin under shear so it passes the aperture.
Those three parameters define the printing window, and they couple to machine settings:
| Change | Viscosity requirement | Why |
|---|---|---|
| Higher count (smaller aperture) | lower | passage resistance falls roughly with the fourth power of aperture |
| Faster stroke | lower | short high-shear dwell leaves no time for structure to rebuild |
| Highly absorbent substrate | slightly higher | capillary uptake pulls solvent, viscosity climbs |
| Thick deposit required | higher yield stress | stops the print slumping after snap-off |
| Fine lines | more thixotropy, less elasticity | reduces stringing and edge pull-back |
First rule of thinning: check the temperature before anything else. Ink viscosity is acutely temperature-sensitive; most systems lose 10–20% per 5 °C rise. A shop at 12 °C in winter and 32 °C in summer will see the same can behave twice as thick. Conditioning ink to shop temperature for 24 hours, or using a temperature-controlled trough, beats repeated reducer additions — which steadily erode opacity and film build.
5 Interfaces: what actually holds the ink on
There is no natural affinity between ink and substrate. Adhesion is a combination of three mechanisms: mechanical anchorage (penetration into surface pores, then cure), polar interaction (hydrogen bonding, van der Waals), and chemical crosslinking (silane coupling, isocyanate reacting with the substrate). Choose the wrong mechanism and the adhesion test will fail every time.
5.1 Surface energy is the first gate
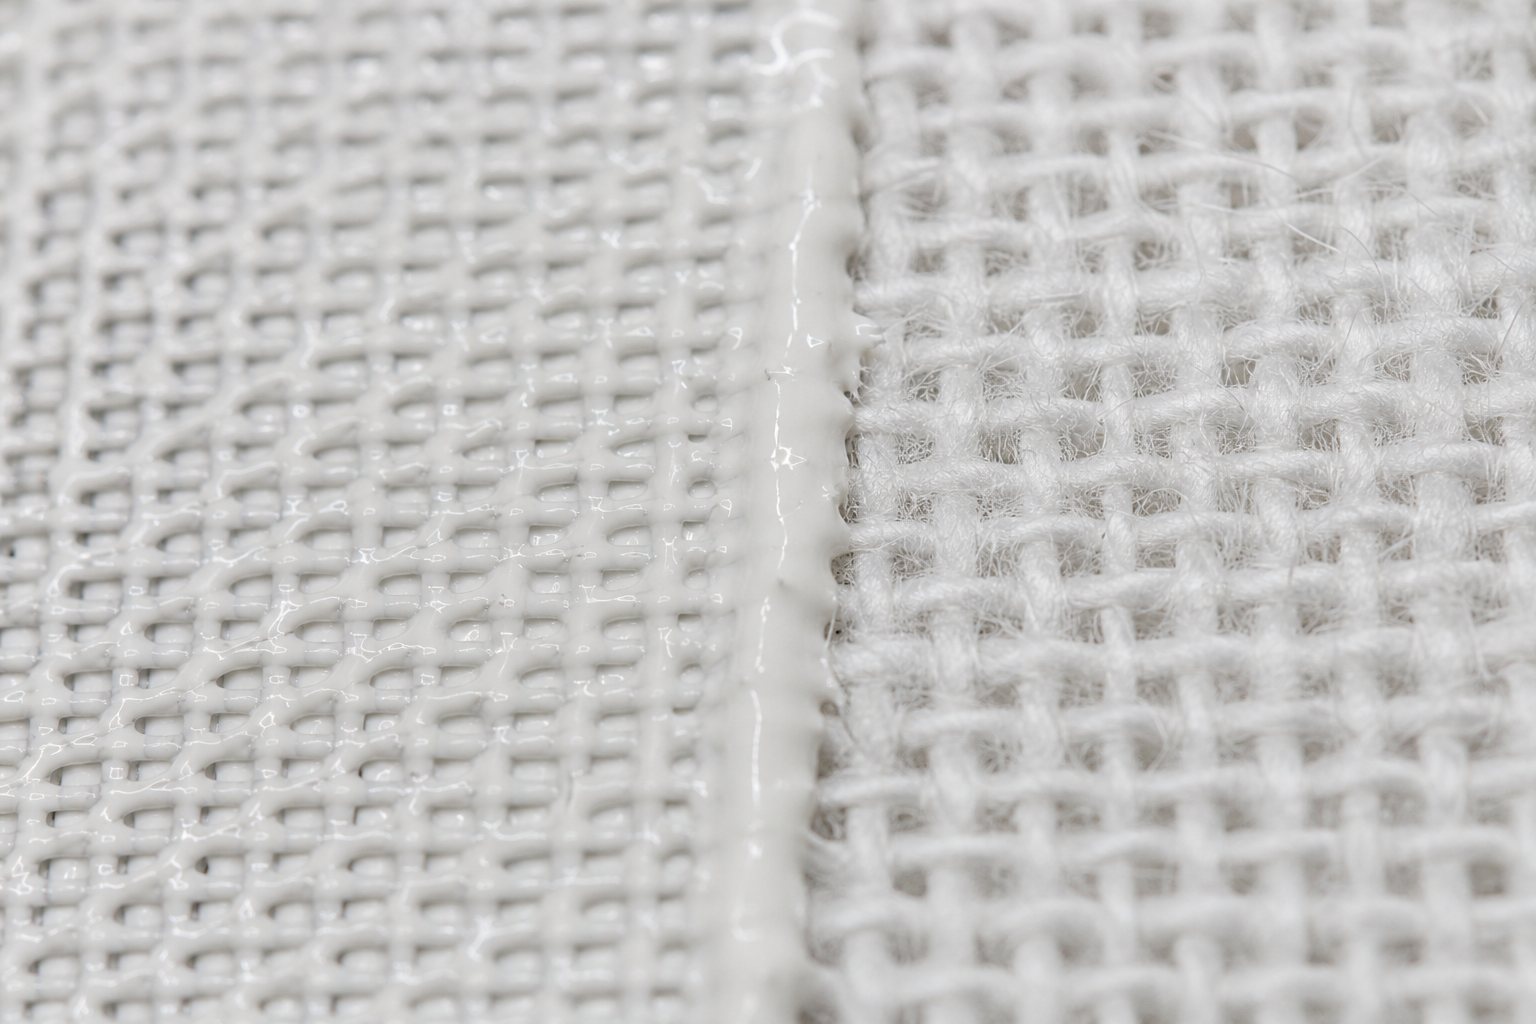
The 8–10 mN/m margin absorbs contamination and ageing. An insufficient margin does not produce total repellency; it produces localised dewetting — fisheyes, craters, edge crawl — because those spots have a dyne level a few units lower. So when you see a local defect, reach for a dyne pen before you reformulate.
5.2 Compatibility with mesh and stencil
Ink solvent attacks emulsion. Strong solvents (ketones, esters, aromatics) in prolonged contact swell the stencil, soften the edge and destroy run life. The test: after 500 impressions, is the image edge blunted, is emulsion flaking? If so, move to a milder solvent system or a solvent-resistant emulsion — do not simply coat thicker.
Ink against mesh is mainly clogging (chapter 3) and pigment bridging inside the aperture. High count plus high pigment load is the worst combination; fix it by reducing particle size or improving dispersion stability, not by dropping the count, which sacrifices resolution.
6 Diagnosing defects from the ink side
Any given appearance defect can come from the screen, the press, the substrate or the ink. What follows are only the ink-side causes and how to tell them apart — use alongside the Screen Printing Defect Atlas.
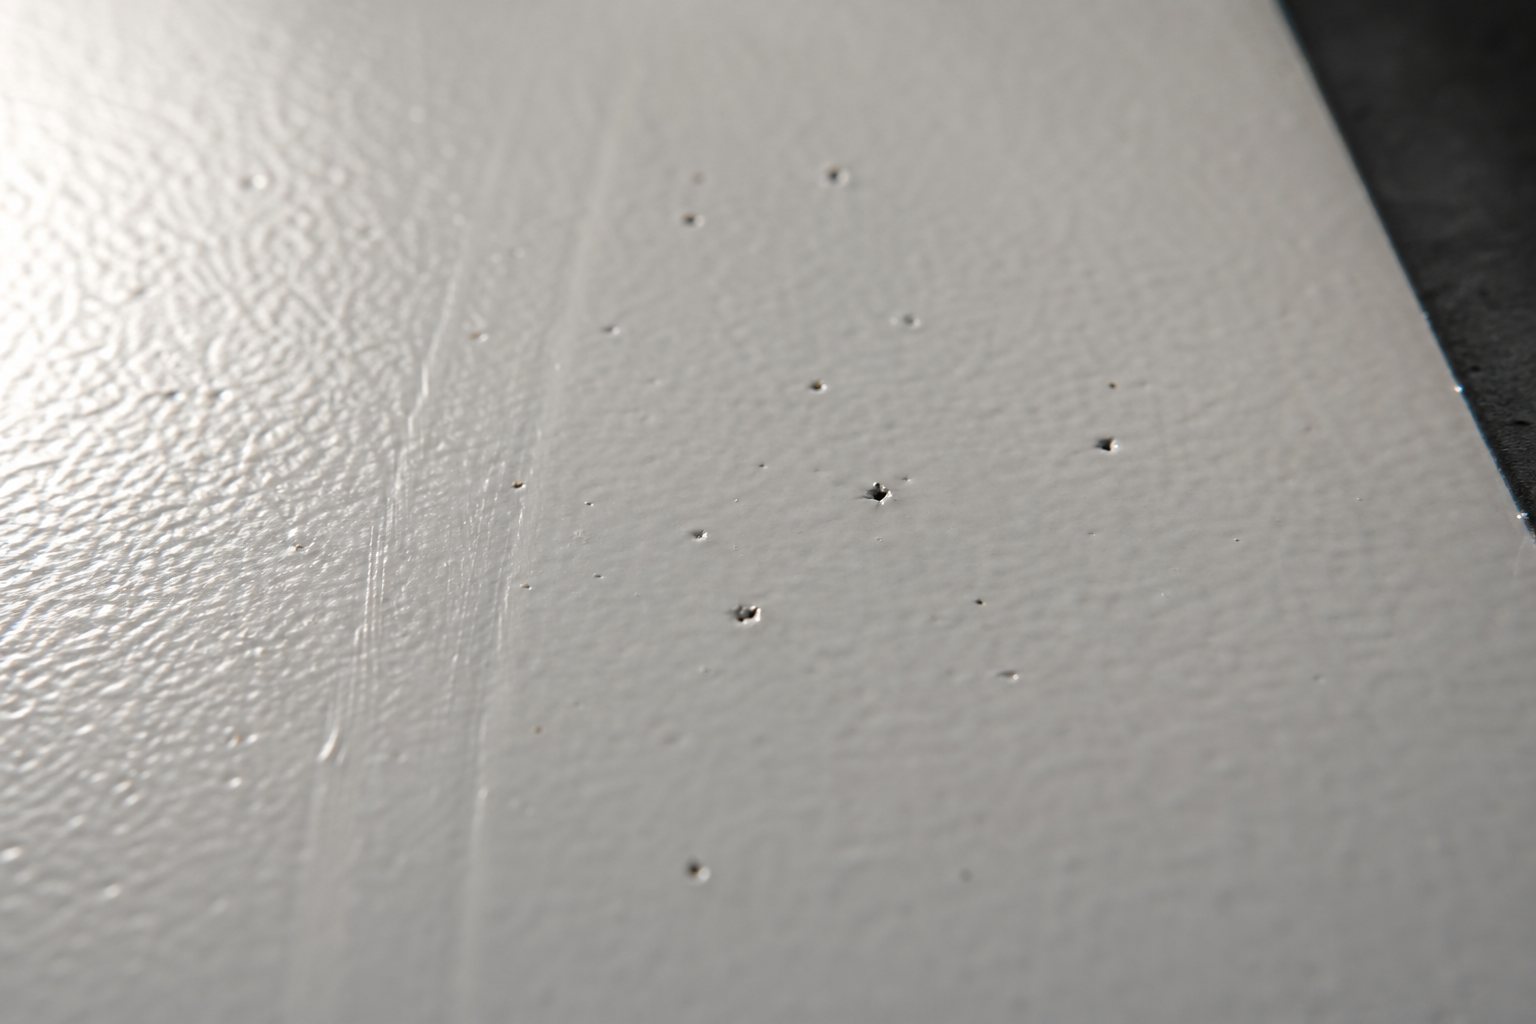
| Defect | Ink-side cause | Action |
|---|---|---|
| Pinholes | poor defoaming, dissolved gas, contaminated ink | stand to deaerate, add defoamer, filter |
| Fisheyes / craters | surface tension too high, oil on substrate | add levelling agent, clean the substrate first |
| Orange peel | high viscosity, poor levelling, fast drying | reduce viscosity, slow solvent, adjust airflow |
| Cracking | film too thick, over-cure, plasticiser migration | thin the deposit, lower energy, change system |
| Poor adhesion | low surface energy, untreated substrate, wrong resin | measure dyne, pretreat, change resin or add coupling agent |
| Colour drift | poor dispersion, settling, batch variation | recheck fineness of grind, stir, lock the batch |
| Clogging | agglomerate size approaching aperture | filter, improve dispersion, reduce count as a last resort |
| Edge pull-back / stringing | excess elasticity, snap-off too fast | reduce elastic component, adjust off-contact and speed |
7 Selection, adjustment and testing
Select from the hardest constraint inward: substrate → resistance requirement → drying capability → count and film thickness, and only then colour and cost.
7.1 Additives: dosage and limits
Additives are the classic “a little works, a little more ruins it”. Defoamer above 0.5% introduces craters; excess levelling agent kills intercoat adhesion; the wrong adhesion promoter in the wrong system leaves a batch permanently wet. Rule: one additive at a time, never more than 0.3%, wait 30 minutes before judging.
7.2 Four tests you can run on the floor
Appendix Quick reference
The book in one line: every ink problem comes back to the balance among four phases. You cannot have maximum opacity, minimum viscosity, thinnest film and fastest drying at the same time. Engineering is not the search for a universal formula — it is deciding, for this order, which property is allowed to give.
Companion reading: Screen Printing Defect Atlas (27 failure modes) · Screen Printing Mesh: Technology and Application (seven chapters)


